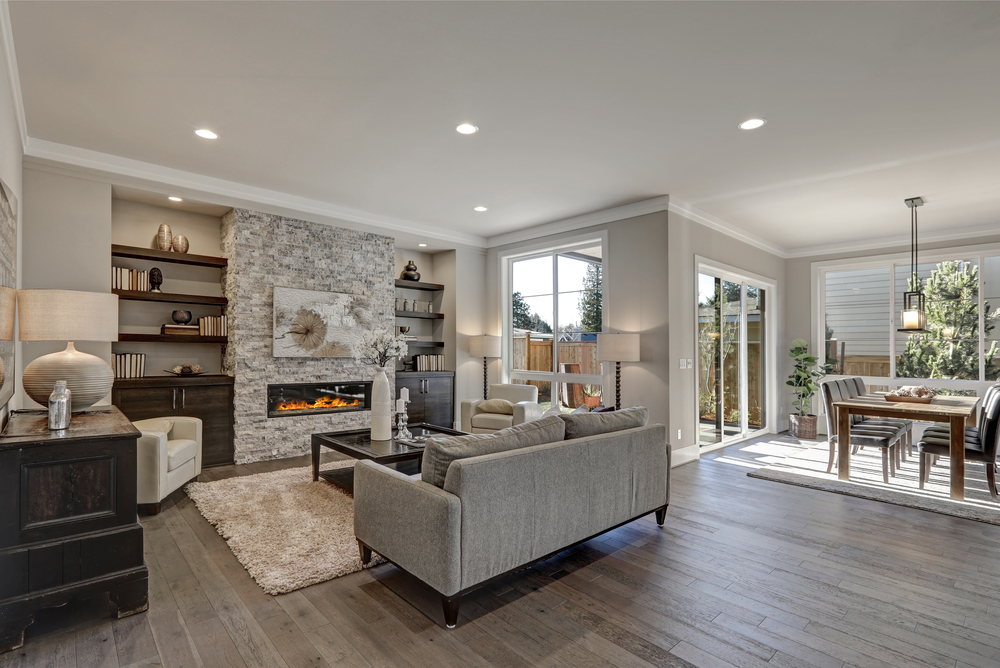
Maybe you’ve just moved into a new home and want to elevate your bland builder-grade light fixtures. Or perhaps you’ve lived in your space for years and are looking to make some changes to your lighting as part of a larger renovation project. Whatever the case may be, changing out your own light fixtures and installing new ones doesn’t have to be a stressful project – especially when you use some of these easy, creative DIY tips and tricks!
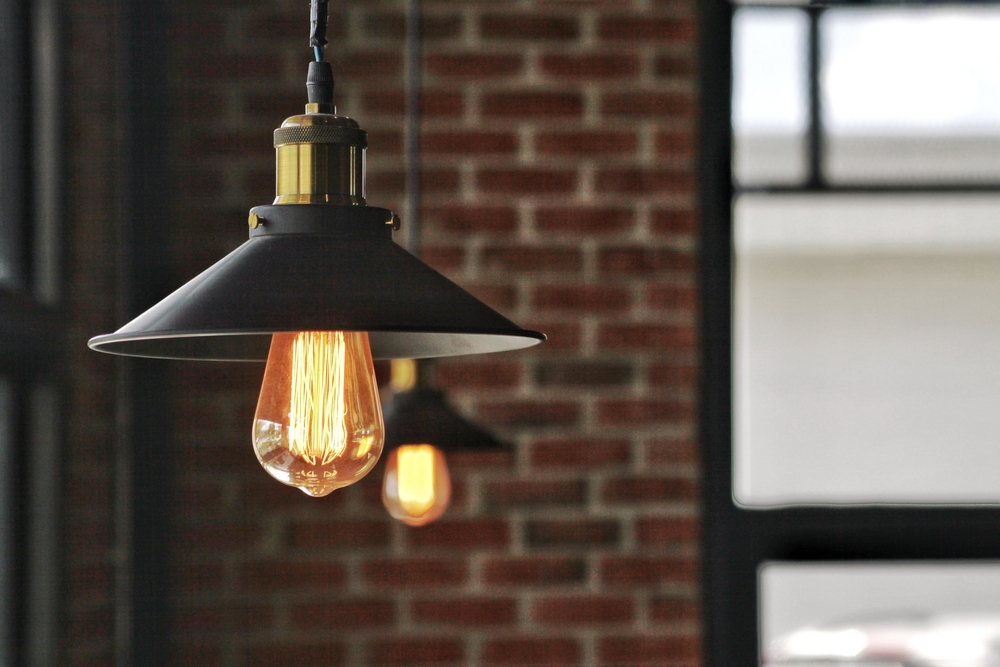
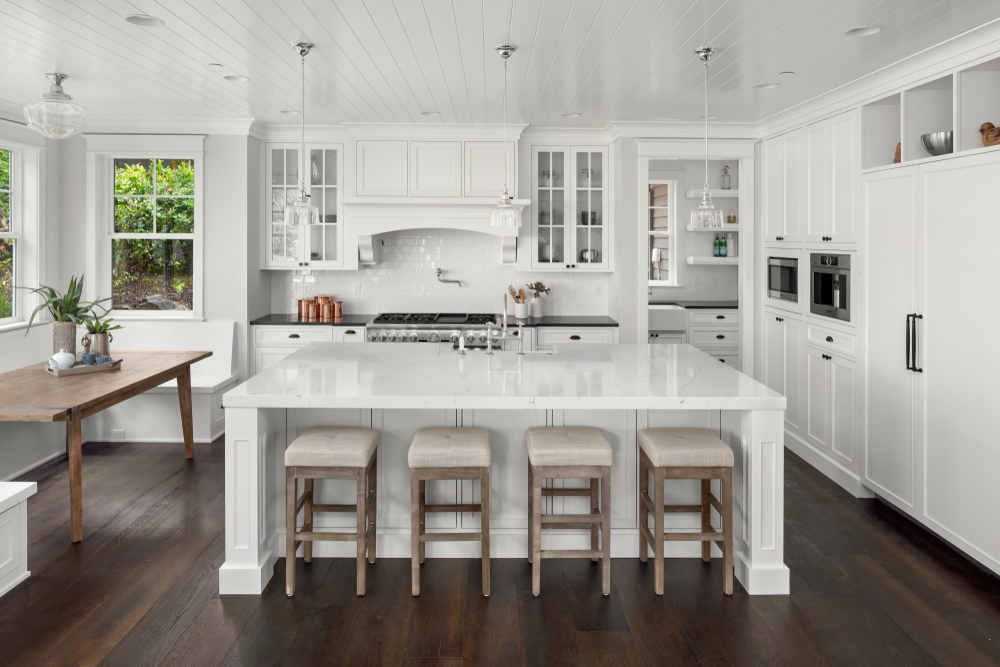
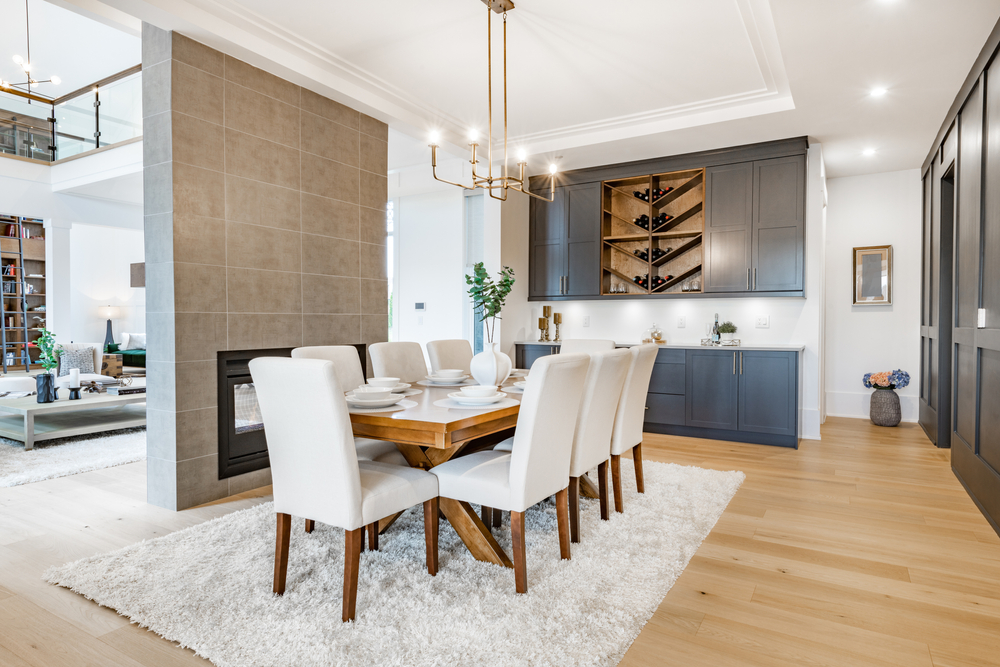
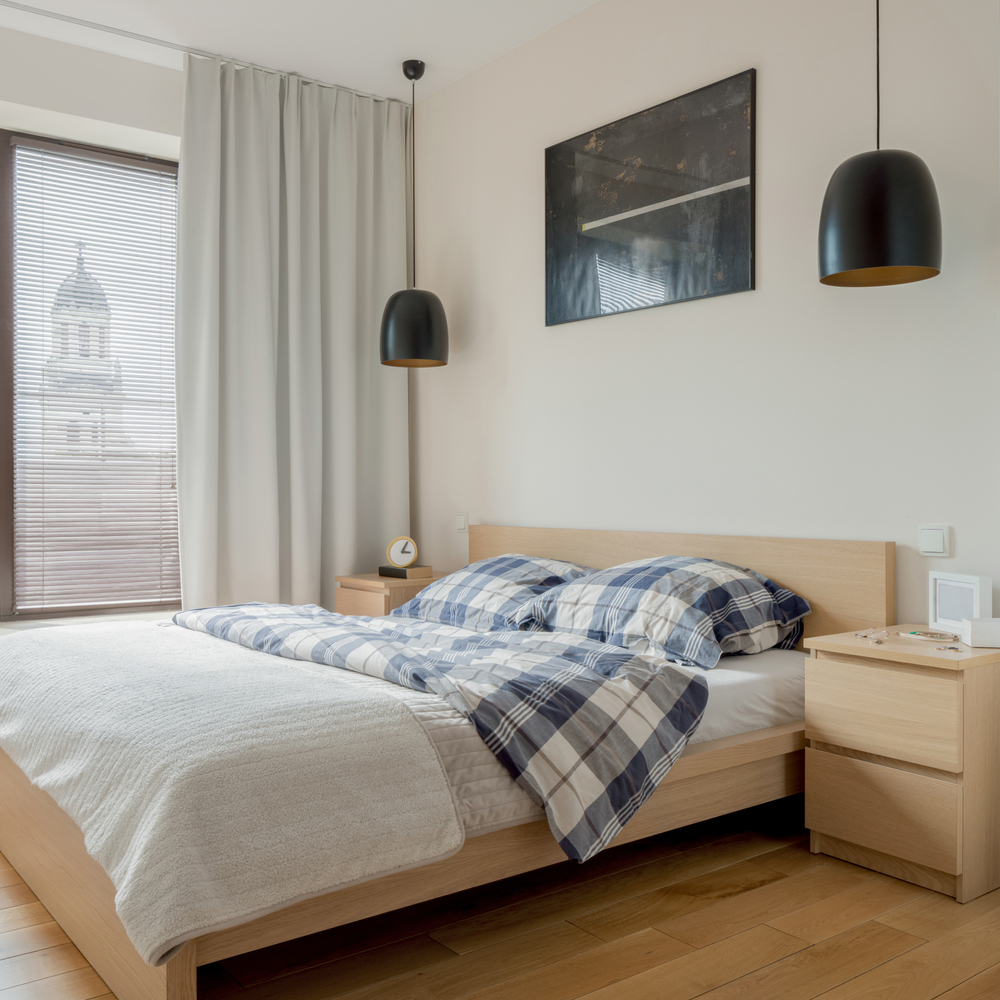
1. Use a tennis ball to figure out the best height for hanging fixtures
If you’re hanging a pendant light – above your kitchen island or dining table, for example – attach a tennis ball to a length of string and tack to the ceiling to better visualize where your fixtures may hang. Try out different heights before ultimately deciding what length fixtures work best in your space. It’s a lot easier to play around with a tennis ball to figure this out than it is your actual light fixture!
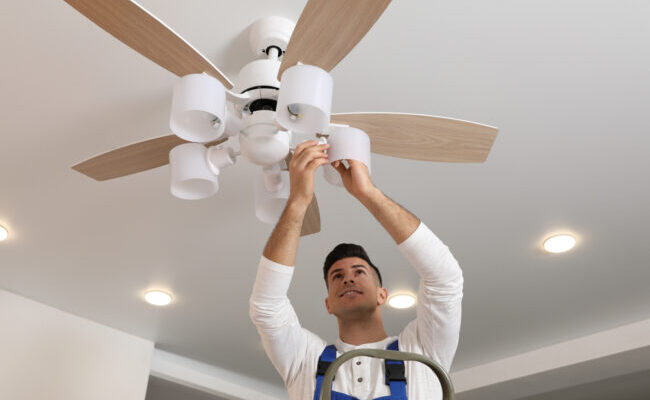
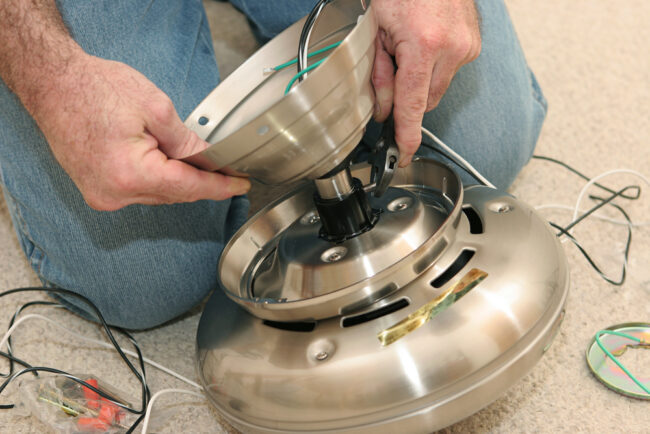
2. Wear a backpack to hold your fixture during installation to prevent accidental drops
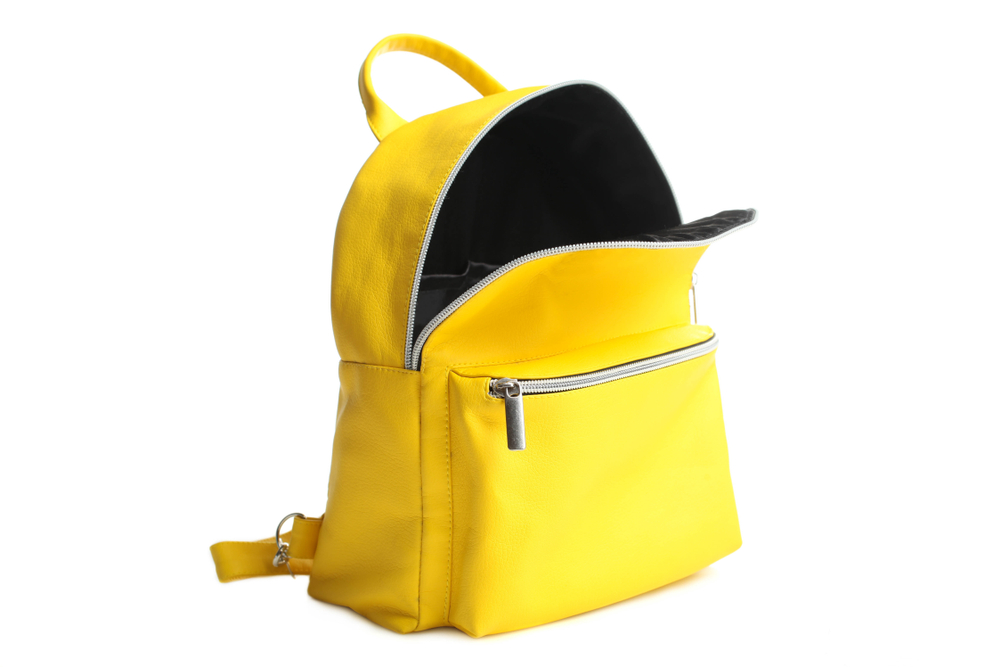
Another great hack when installing a hanging light is to use a backpack hung around your front to hold your fixture and keep it at the right height while you connect the wiring. You can also use the pockets to keep screws and other tools handy.
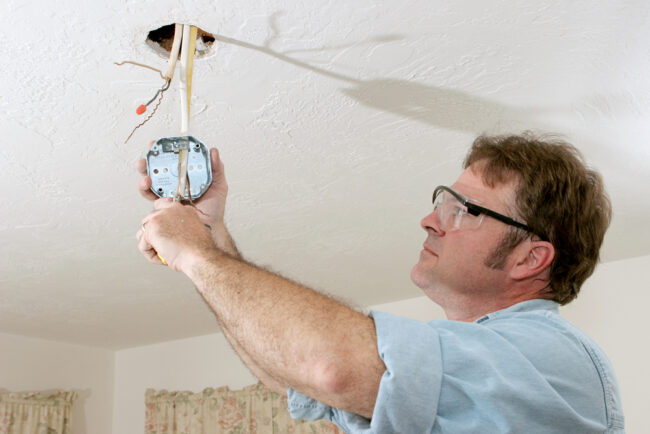
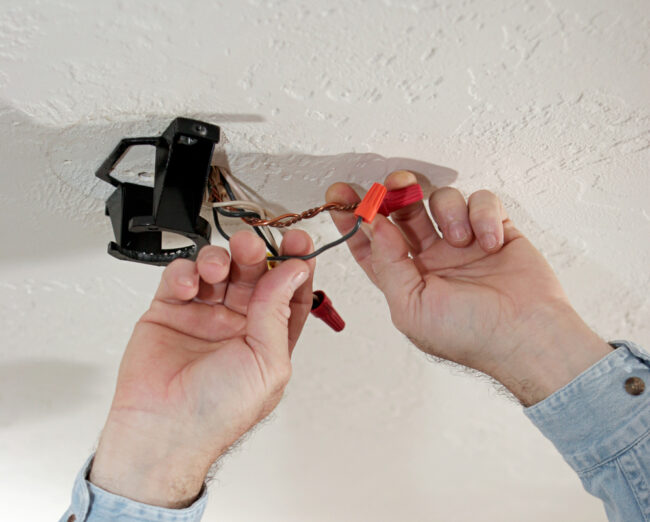
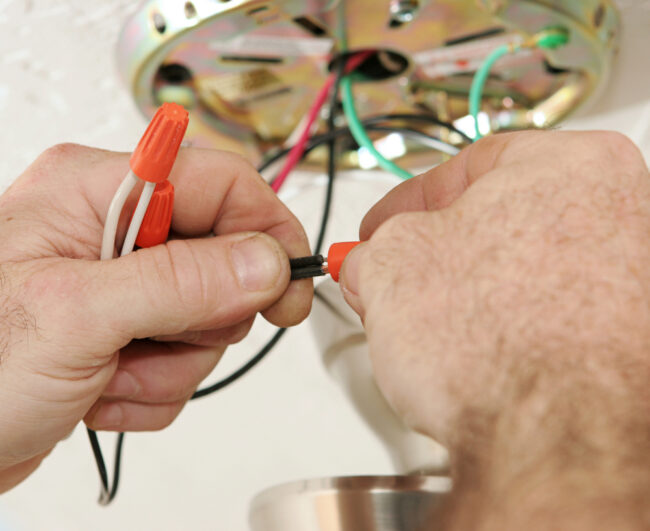
3. Take a “before” photo
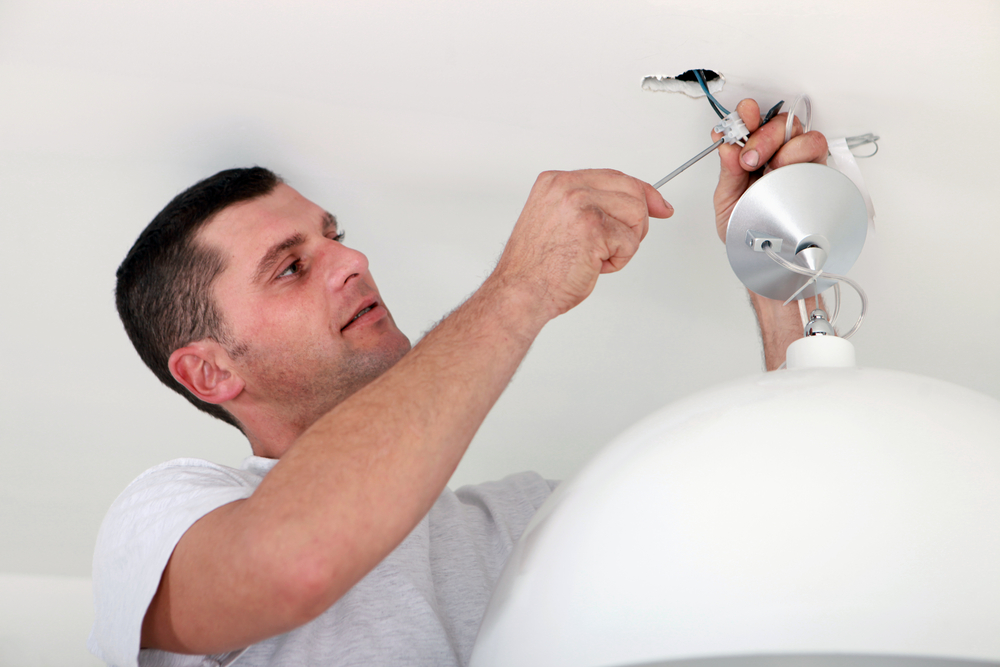
If you’re at all nervous you’ll connect wires incorrectly, simply take one or two photos of the existing wiring before you disconnect your old fixture. You can then reference this photo later if you need a reminder of how the wires are connected. Likewise, consider labeling wires with tape to keep things organized.
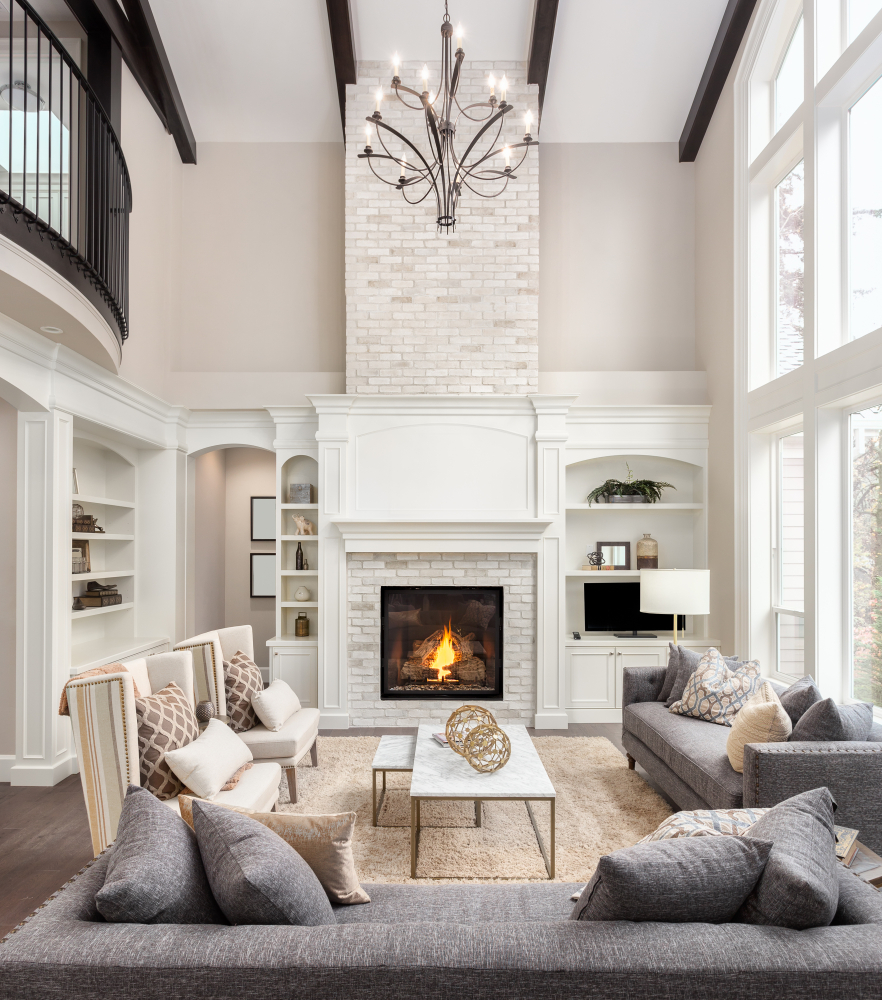
4. Use a laser level for perfect alignment
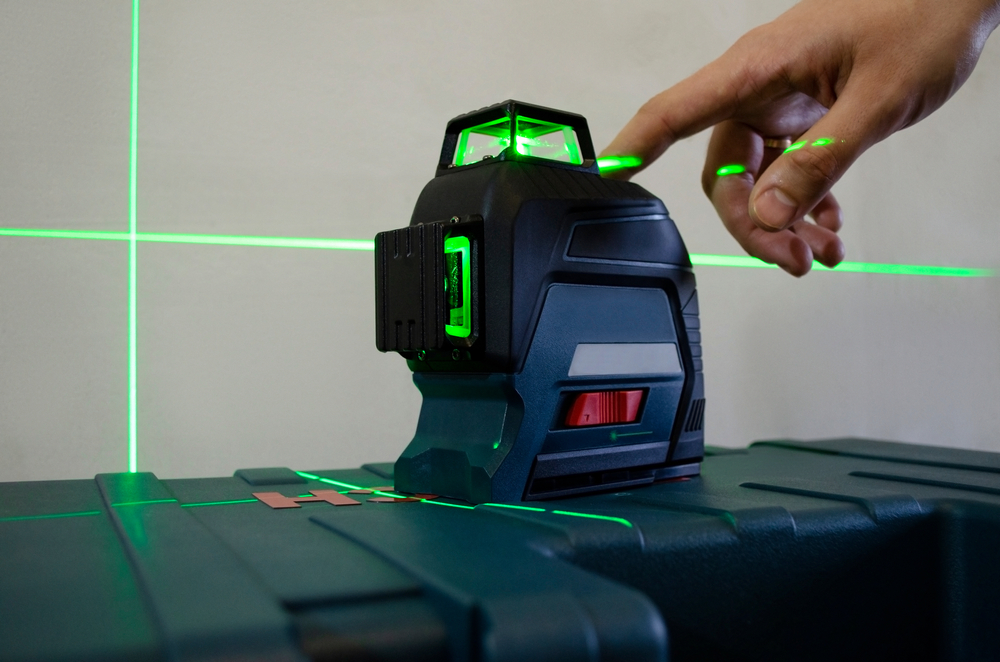
Use a laser level to make sure your fixture is perfectly aligned. This is especially helpful for fixtures with multiple components or those that need to be level for aesthetic reasons. Laser levels are a great investment for many around-the-house DIY projects!
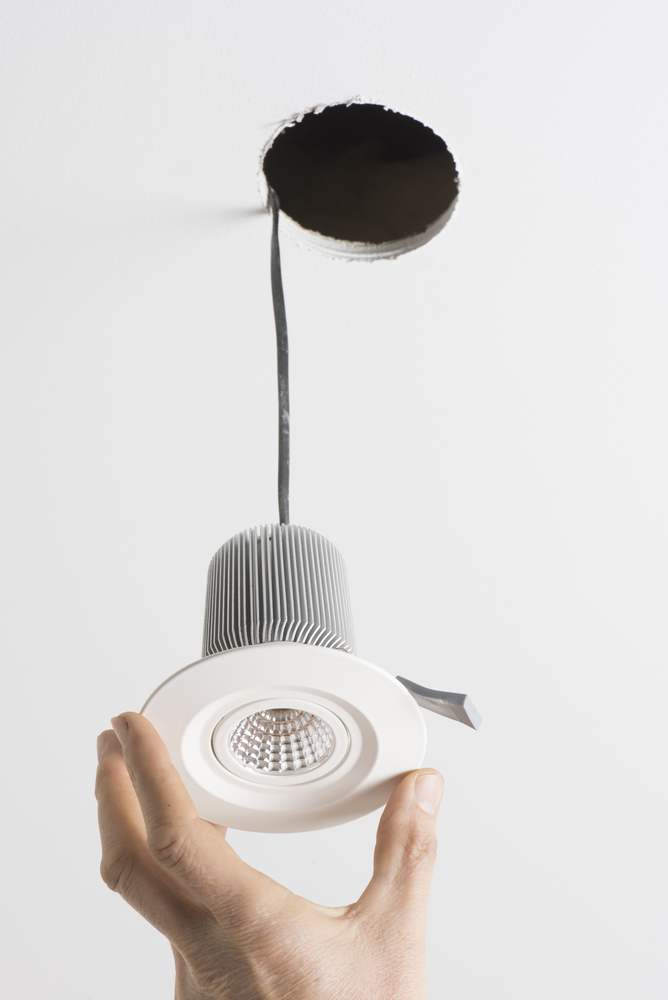
5. No wiring? No problem!
If you have the perfect place for a wall sconce but don’t have existing wiring, consider installing the sconce (utilizing wall anchors) and then adding a battery-powered LED puck light inside the sconce in place of a conventional lightbulb. If your sconce doesn’t allow easy access to the LED light puck opt for a model with a remote for easy on/off. You can leave the existing light fixture wiring in place, simply tuck them into the wall plate/body of the fixture before screwing it into the wall. Then you can still wire the fixture in the future if you decide to.
————
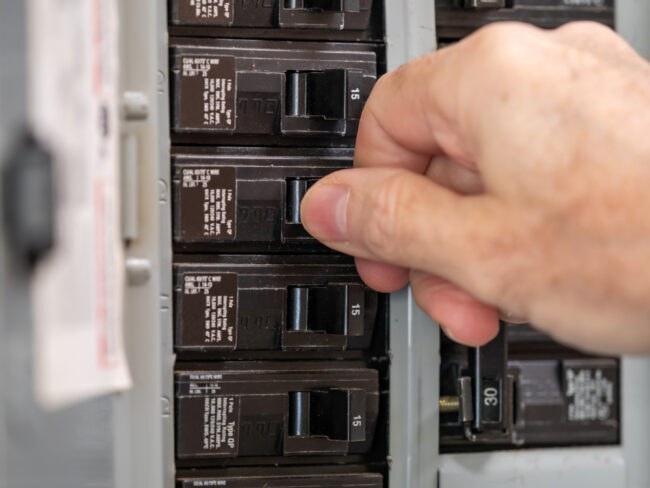
Remember, while these simple tips and tricks for easy DIY light installation can be helpful, always prioritize safety and make sure to follow the installation instructions that come with the fixture. If ever you’re unsure about anything, consult with a professional electrician or meet with a lighting expert at Western Chandelier for guidance.